DIY Tips for Setting Up Wireless Home Automation Systems
In the age of smart homes, setting up a wireless home automation system can seem like a daunting task, but with the right guidance, it can be a straightforward and rewarding DIY project. Whether you're looking to control your lighting, heating, or security systems, wireless automation offers flexibility and convenience. Here are some essential tips to get you started on your DIY journey.
Planning Your Home Automation System
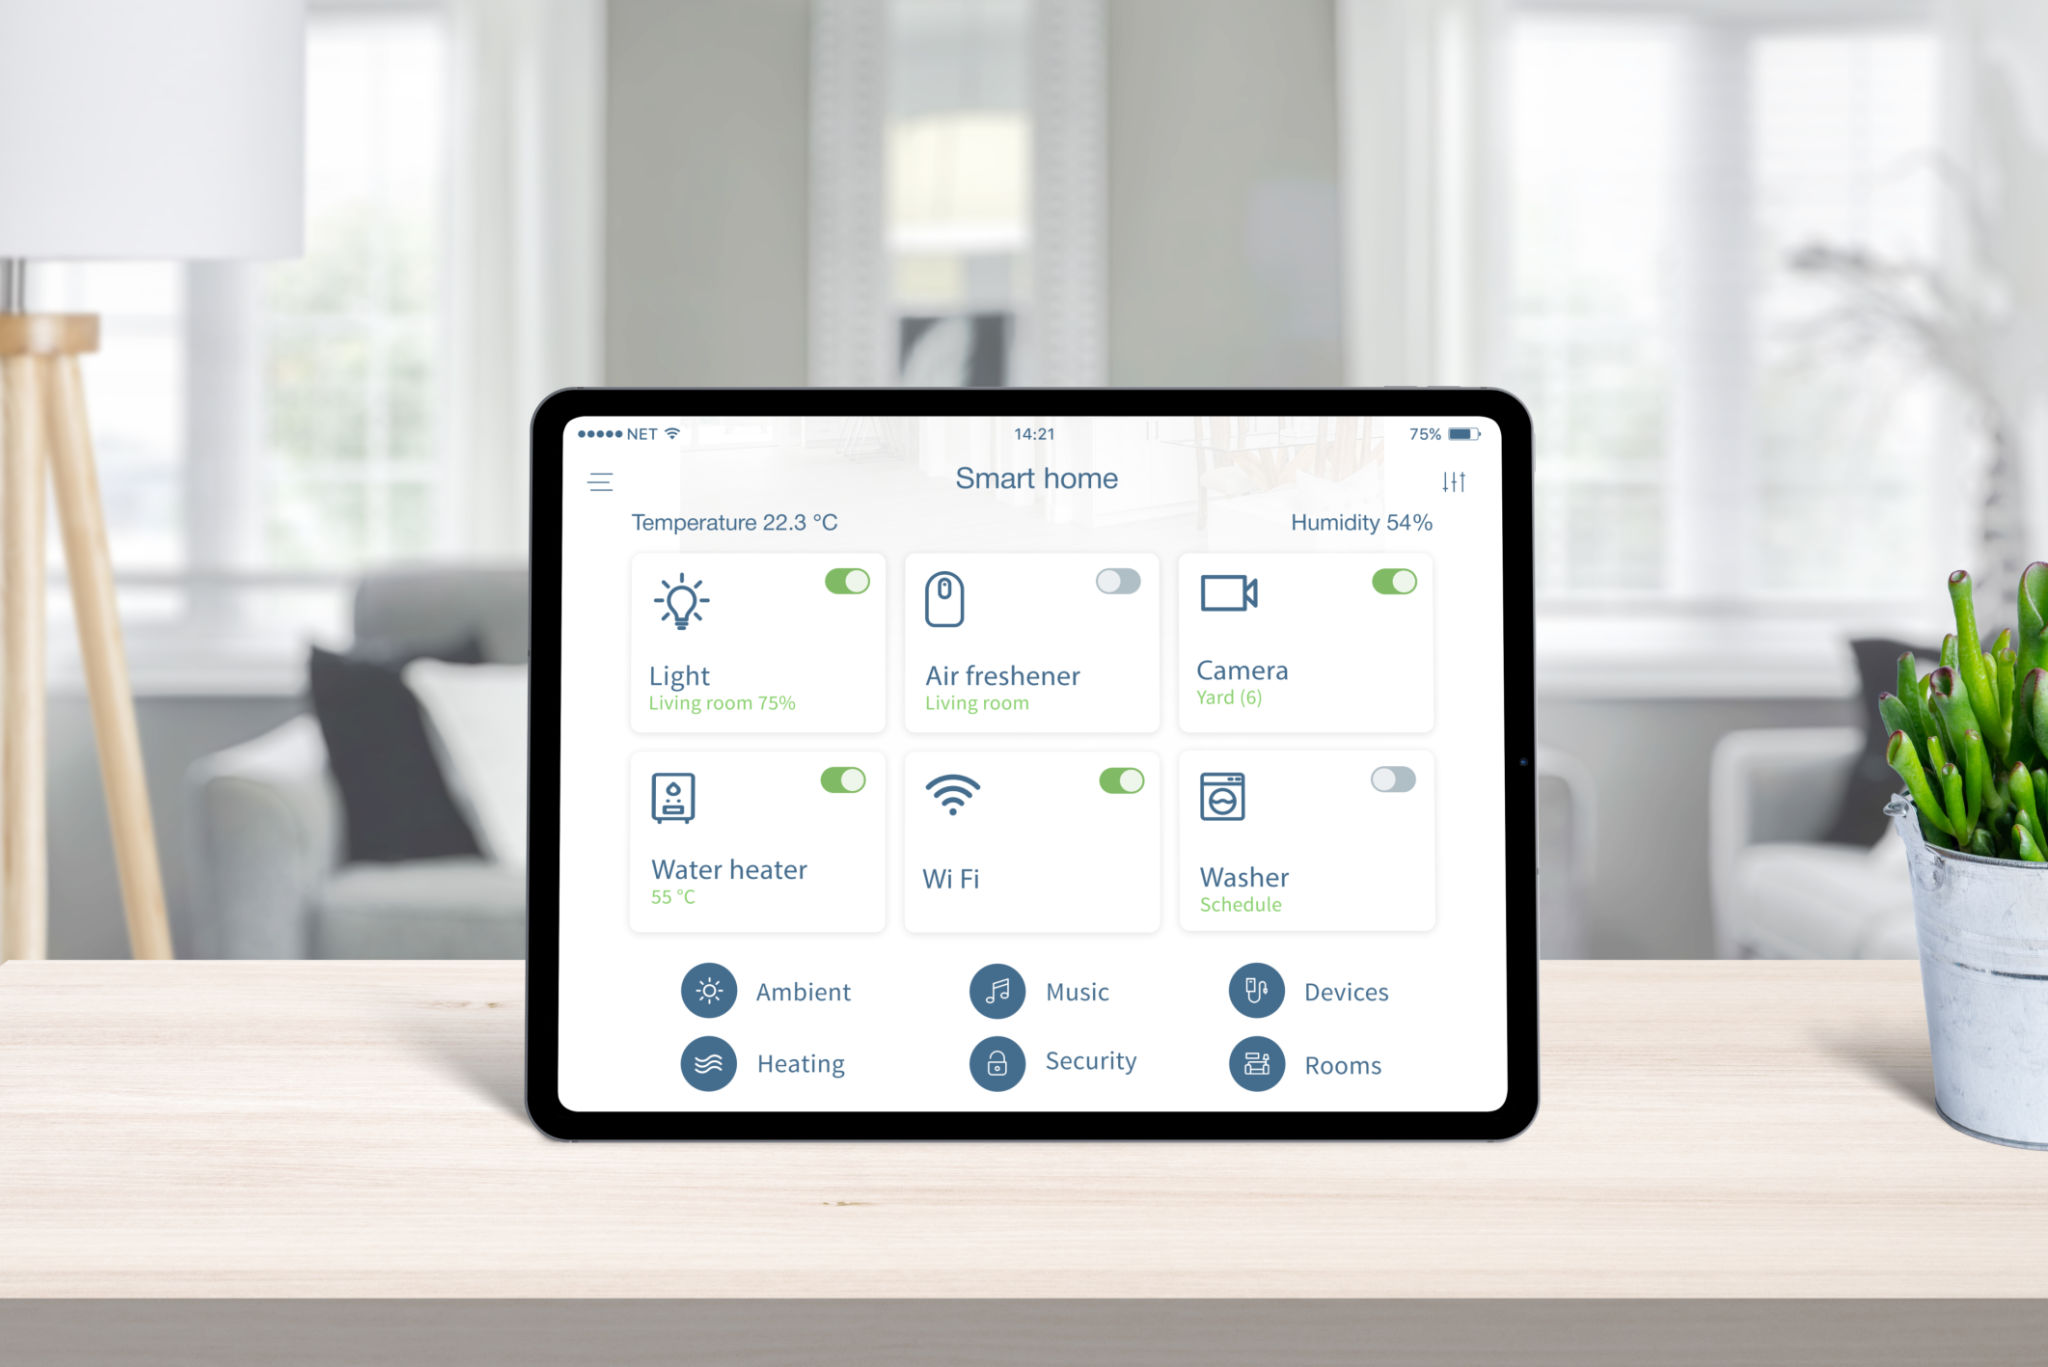
The first step in setting up a home automation system is to plan what you want to automate. Start by identifying your needs and priorities. Do you want to control the lights, thermostat, or security cameras? Make a list of devices and systems you want to include, and consider how they will integrate with each other. Remember, planning is key to ensuring a smooth setup process.
It's also crucial to consider the compatibility of devices. Many smart home devices use different protocols such as Wi-Fi, Zigbee, or Z-Wave. Ensuring that your chosen devices can communicate with one another is essential for a seamless experience.
Selecting the Right Hub
A central hub acts as the brain of your home automation system. It connects and controls all your smart devices. When choosing a hub, consider its compatibility with the devices you've selected. Popular options include Samsung SmartThings, Apple HomeKit, and Google Nest Hub. Each has its strengths, so pick one that aligns with your needs and existing devices.
Once you've chosen your hub, it's time to set it up. Follow the manufacturer's instructions carefully to ensure everything is configured correctly. This step is vital for ensuring your devices can communicate effectively.
Installation Tips
When installing your hub, place it in a central location within your home. This placement ensures optimal signal strength and coverage for all connected devices. Avoid placing it near large metal objects or electronic devices that could interfere with the wireless signal.
Integrating Smart Devices
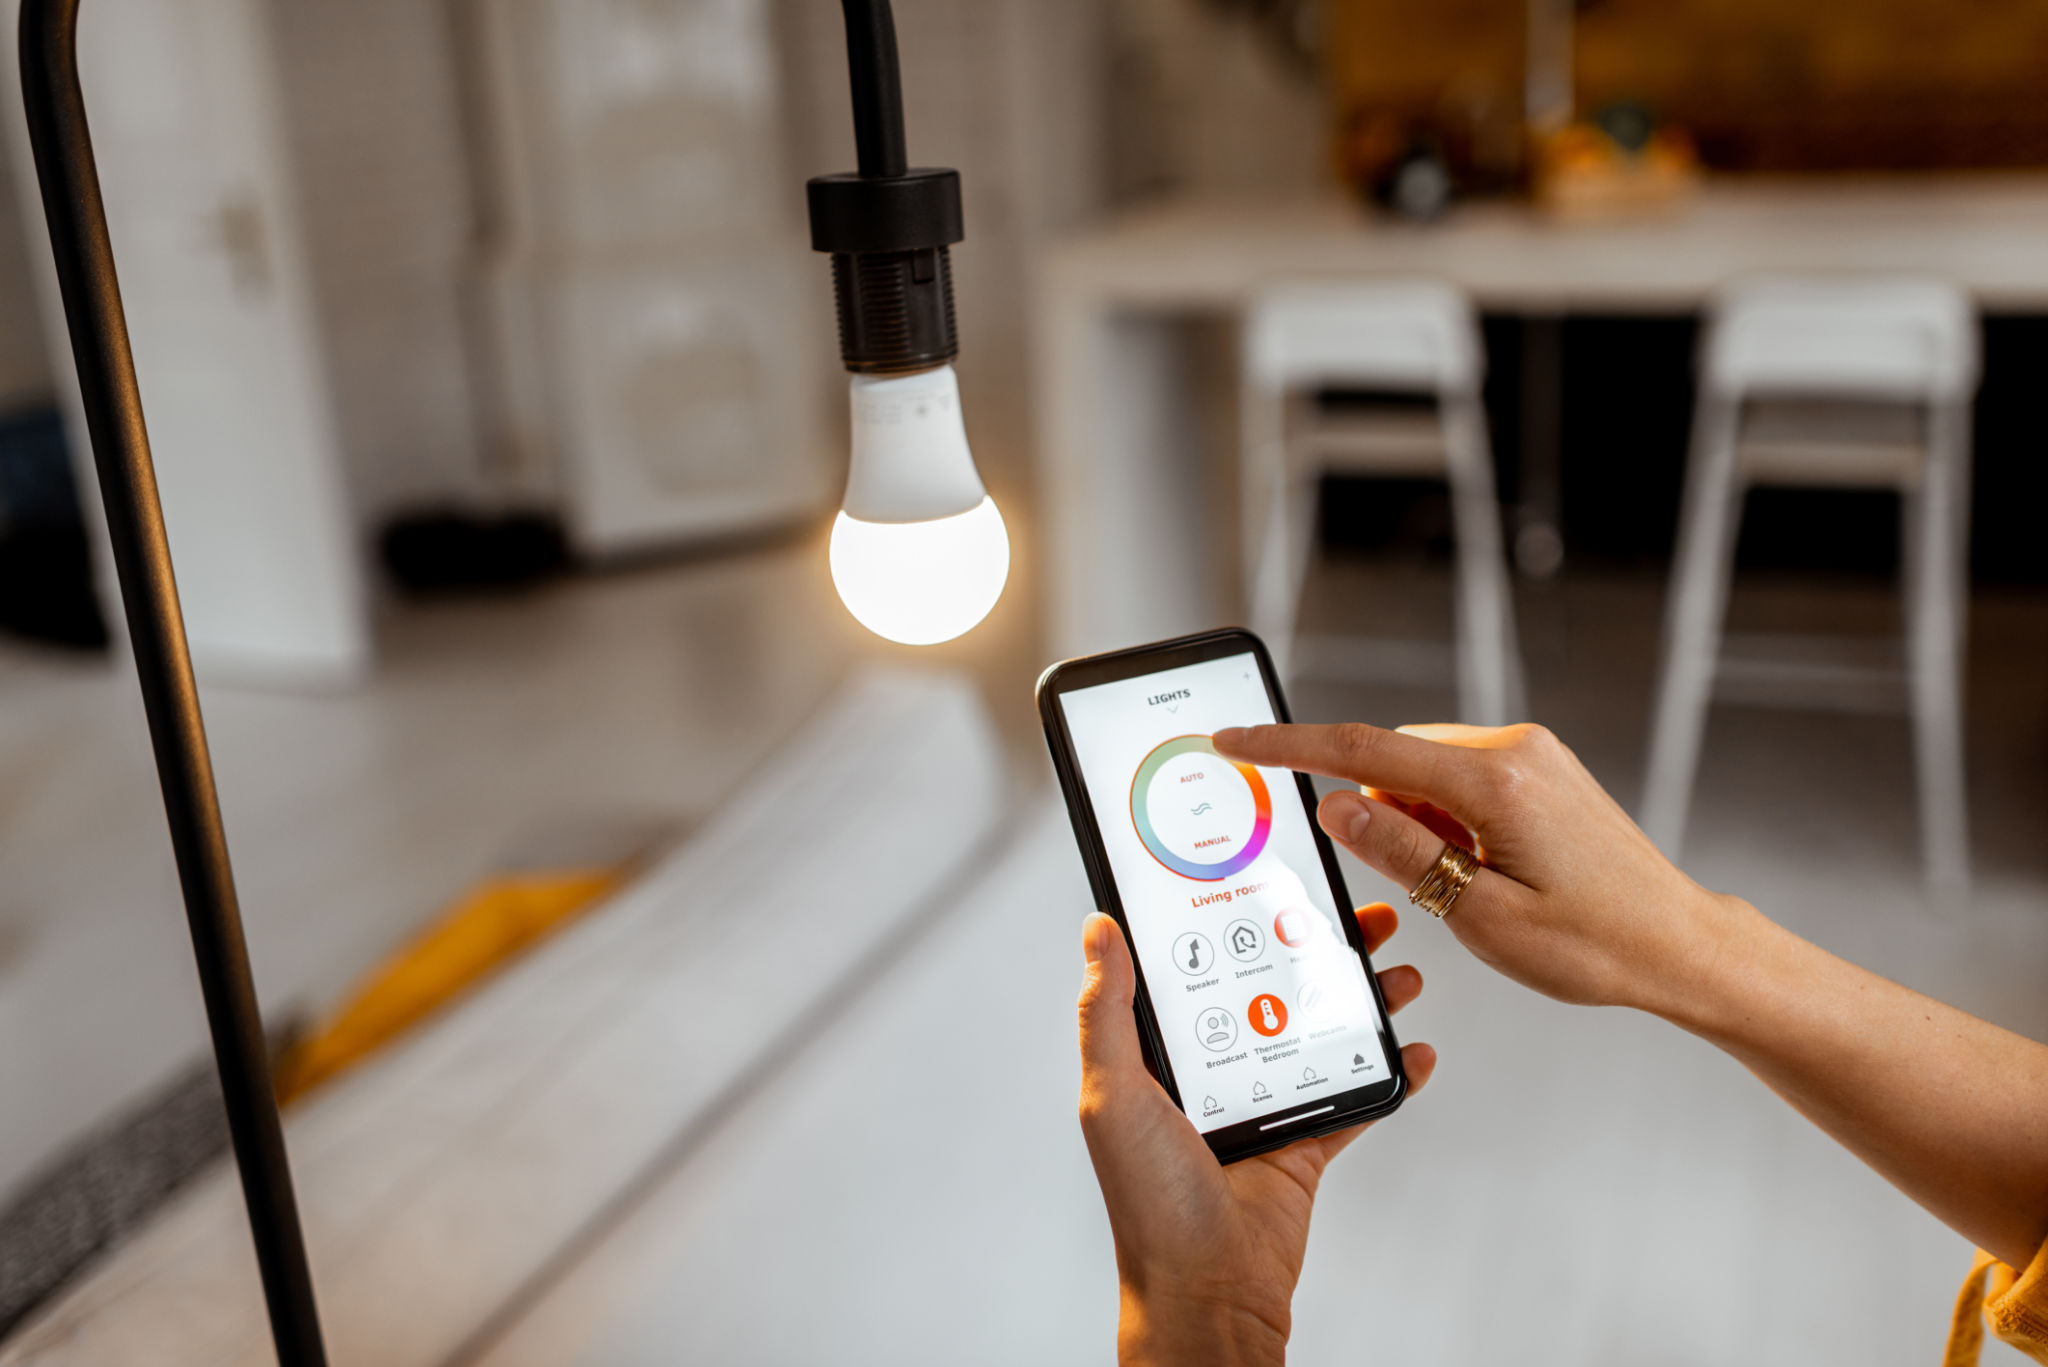
With your hub in place, it's time to start integrating smart devices. Begin with simple devices like smart bulbs or plugs to get a feel for the process. Most smart devices come with an app that guides you through the setup process. Follow these instructions carefully for each device you add.
Remember to test each device after installation to ensure it's working correctly. Testing helps identify any connectivity issues early on, allowing for quick troubleshooting.
Advanced Automation
Once you've mastered basic automation, consider exploring advanced options like creating "scenes" or "routines." These features allow you to automate multiple devices simultaneously based on specific triggers or schedules. For example, you can set up a routine that turns off all lights and locks the doors at bedtime.
Troubleshooting Common Issues
It's not uncommon to encounter issues during setup. Common problems include connectivity issues, compatibility errors, or signal interference. If you face any difficulties, refer to the device manuals or online resources for troubleshooting tips.
If problems persist, consider reaching out to community forums where other users share solutions and experiences. These communities can be invaluable resources for overcoming technical challenges.
Maintaining Your System
Finally, remember that maintaining your system is just as important as setting it up. Regularly update your apps and firmware to ensure optimal performance and security. Periodically check device connections and replace batteries as needed to keep everything running smoothly.
With these tips in mind, you're well on your way to creating a personalized and efficient wireless home automation system. Enjoy the convenience and control that comes with a smart home!